
Maximum performance
Composition of the planks of our
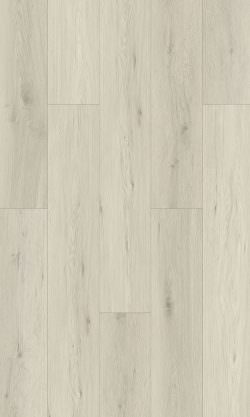
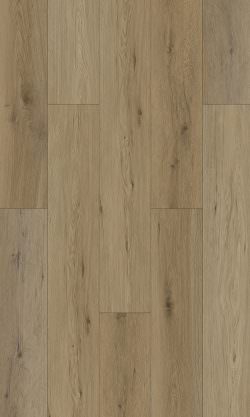
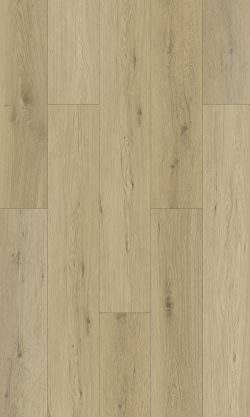
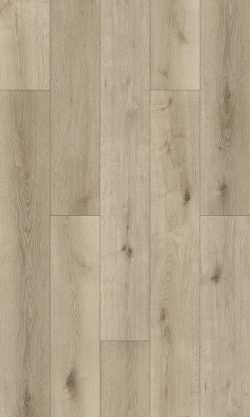
SPC vinyl flooring

UV protection layer. Provides extra durability and protects colors.
Protective wear layer prevents excessive wear. Gives scratch resistance and provides superior protection against stains and bumps.
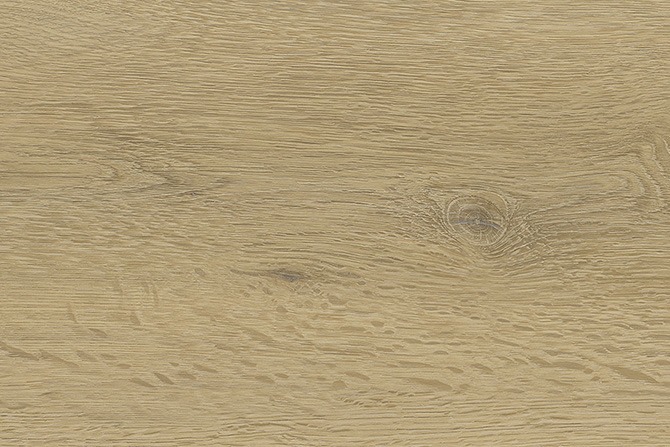
High definition decorative layer. Realistic designs are printed in high resolution, creating a unique natural style.
Stone composite core. Exclusive rigid core. 100% waterproof, prevents expansion and contraction.
EVA layer A It insulates acoustically, fixes the product on the surface and absorbs imperfections from the subfloor.
Click to install. Adhesive-free installation, directly on the ground.
i4F Click & Mount System
The i4F SYSTEM is the simplest on the market and as easy to assemble as it is to “click”.


FAST DELIVERY
SPC Flooring Highlights
service excellence
Immediate delivery on our selection of SPC flooring
The quantity does not matter. From our logistics center we guarantee the delivery of your order in record time.
You will save space in your facilities by not needing to store product stock and peace of mind knowing that your order will be delivered in the set time. No delays.