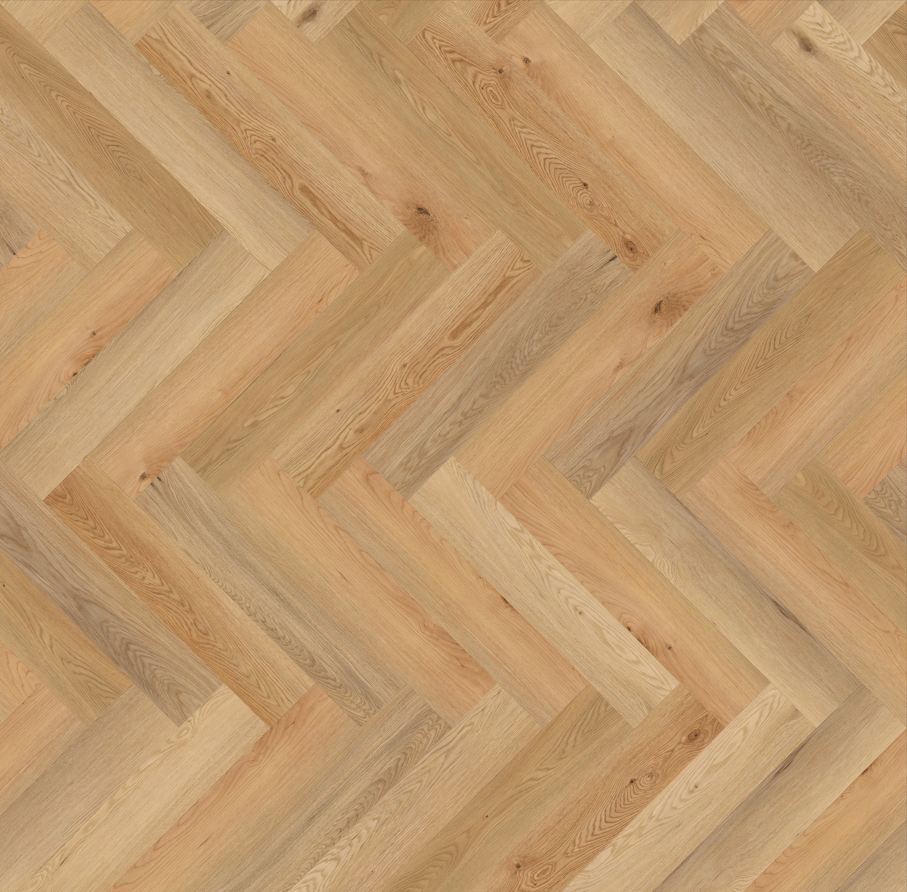
Installing SPC herringbone vinyl flooring is a task that can completely transform the look of a room, adding a touch of elegance and sophistication. Although it may seem complex, with the right tools and following the right steps, you can achieve a professional result.
Tools and materials needed:
- SPC herringbone vinyl flooring: Make sure you have a sufficient quantity, taking into account possible cuts and shrinkage.
- Knife or circular saw: To cut the sheets to size.
- Rubber mallet: To join the pieces together.
- Wedge: To leave the necessary expansion space.
- Metro: To take precise measurements.
- Pencil: To mark the pieces.

Steps to follow for the installation of herringbone SPC vinyl flooring
Soil Preparation:
- Cleaning: Make sure the floor is clean, dry and level. Any unevenness can affect the final result.
- Base: If the floor is not sufficiently level, you can use a foam base to correct imperfections.
Acclimatisation:
- Time: Allow the SPC sheets to acclimatise to room temperature for at least 48 hours before installation. This will prevent warping.

Planning:
- Layout: Decide in which direction you will place the dowels. It is advisable to start from the most visible wall so that the cuts are hidden.
- First row: Lay the first row along the wall, leaving an expansion gap of about 5-10 mm between the wall and the sheets.

Installation:
- Join the pieces together: Use the rubber mallet to click the sheets together. Make sure they fit perfectly.
- Next rows: Continue laying the rows, making sure that the joints are aligned.
- Last Row: For the last row, you may need to cut the sheets to size. Use the knife or circular saw to make the precise cuts.
Skirting boards:
- Installation: Once the floor is completely installed, place the skirting boards to hide the expansion gaps and give it an aesthetic finish.

